Vanilla Bean Cheesecake Recipe
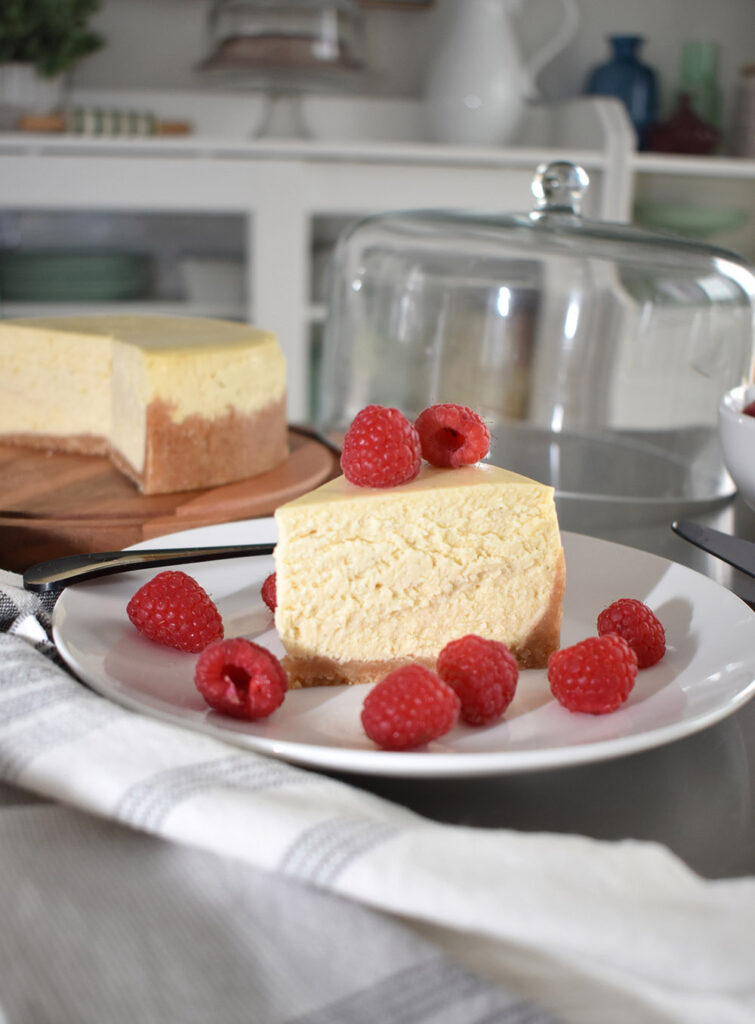
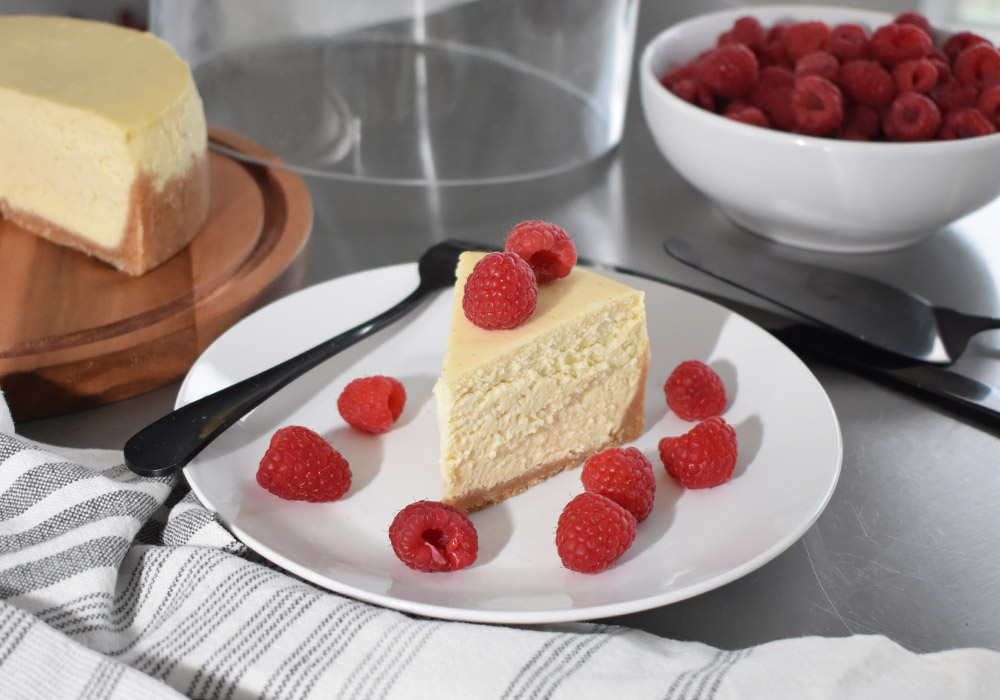
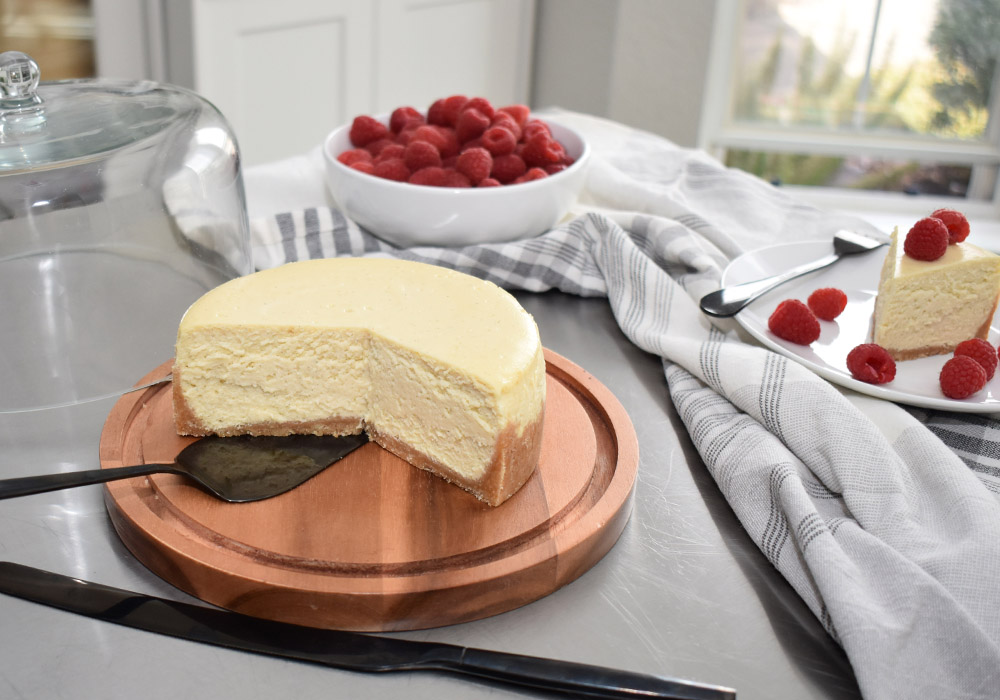
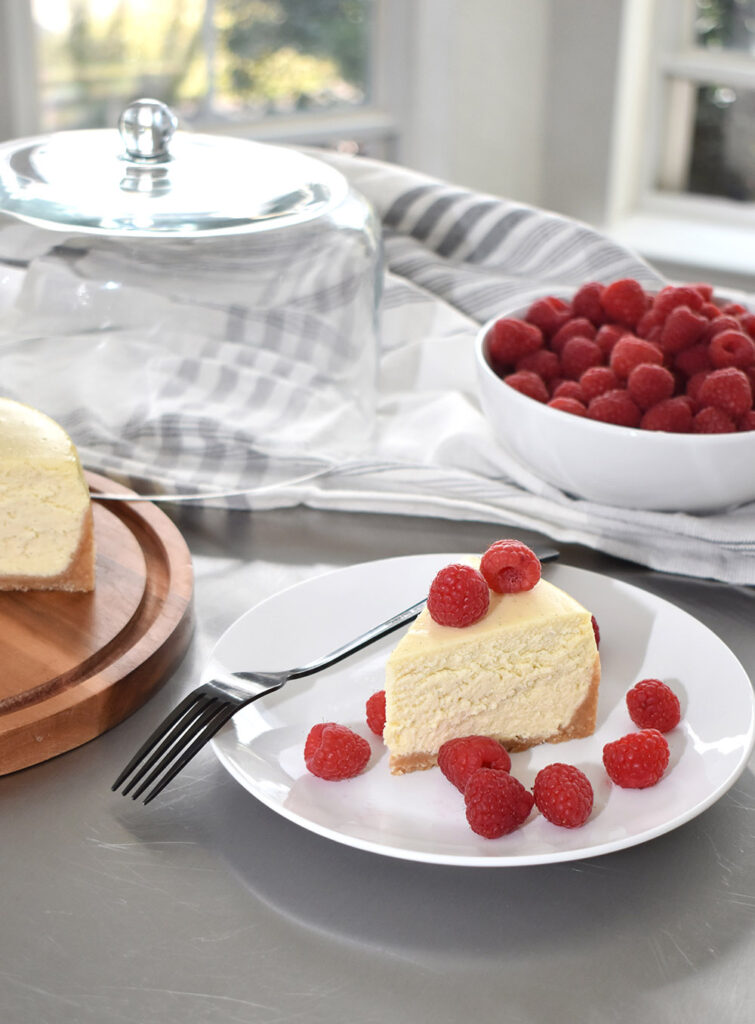
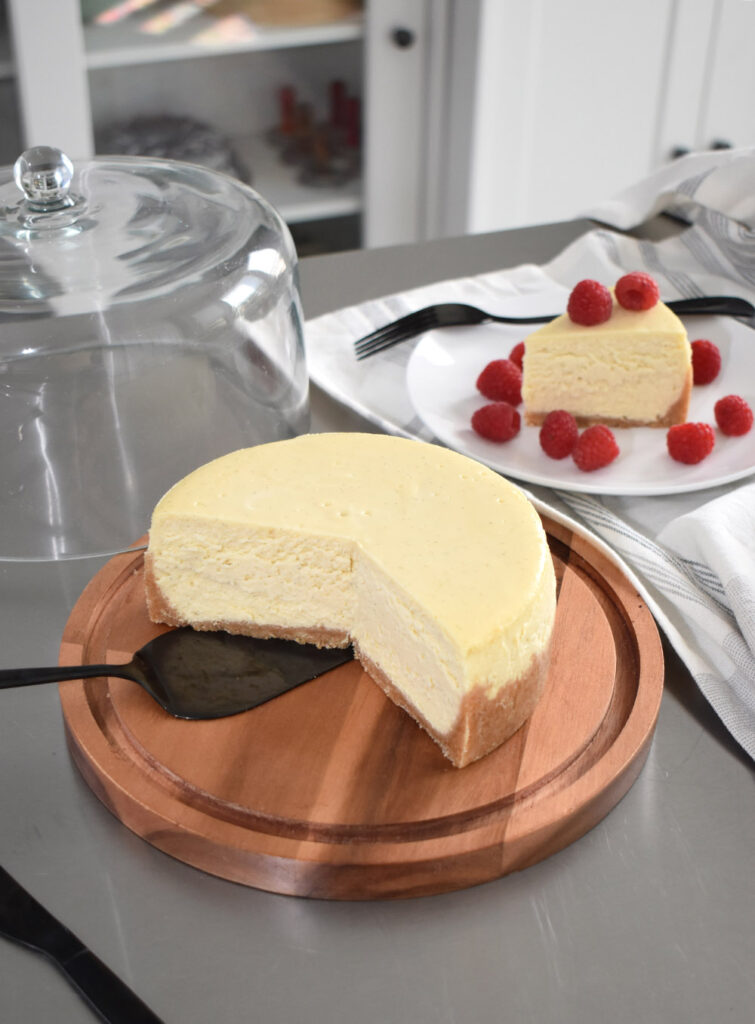
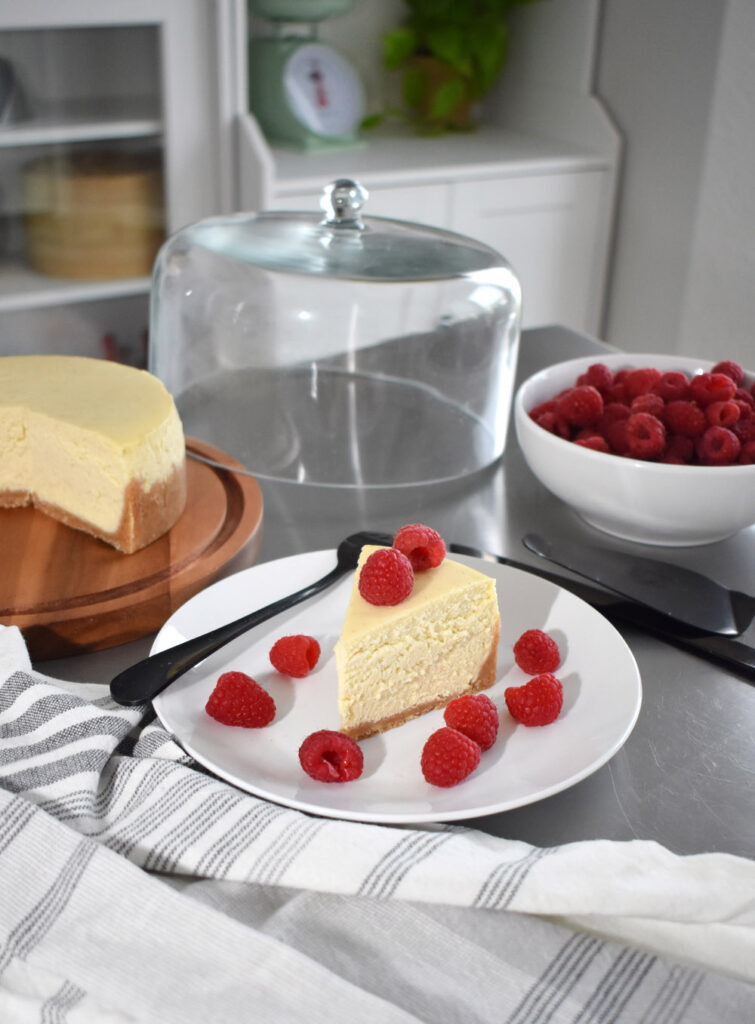
Calling all vanilla lovers! This delightful vanilla bean cheesecake is speckled with vanilla seeds and features a vanilla flavored crust, too!
I love cheesecake in a way I cannot even explain. But I don’t love ALL cheesecake. You know the kind of cheesecake that is light, airy, and fluffy? Though it has it’s place and is especially great during the hot months, for the rest of the year, fluffy is not my jam. I LOVE dense, creamy, sticks to your fork kind of cheesecake that is so rich, you only need a sliver to be completely sated. And so I’ve made my own recipe that is just that!
And today I’m sharing with you this vanilla bean cheesecake – the most vanilla flavored cheesecake around!
I developed for my oldest nephew who wants a homemade cheesecake for his 17th birthday. He is the kind of kid who thinks vanilla ice cream is one of the best flavors which, in my opinion is wrong, wrong, wrong. But for his special cheesecake I decided to stack the vanilla flavor by replacing the usual graham cracker crust with a vanilla cookie flavored one. Can you handle all of this vanilla?
Now I’m not going to lie, making a cheesecake from scratch, while not necessarily difficult, is time consuming and requires attention to detail. I plan on a cheesecake bake being a whole day thing with ingredients coming to room temperature, baking time, and 3 rounds of cooling. And I always bake my cheesecake 2 days before I plan to serve just in case anything goes wrong, I have another day to knock it out of the park!
Not All Pans are Created Equal…
I’ve never met a springform pan that doesn’t leak or eventually rust. I love that my Fat Daddio’s Cheesecake Pans feature a removable bottom that makes it easy to remove a gorgeous cheesecake every time! They come in sizes from 3″ to 12″ so you can make a generous single serve cheesecake to a cheesecake you can serve of a crowd up to 40! This recipe fills a 3″ tall pan.
6″ Cheesecake Pan
Need a cheesecake for an intimate gathering of 4-6? Or perhaps you have an even smaller crowd of 2 and don’t need a giant cheesecake? This 6″ pan is my go to. I’ll even make one just for myself for special occasions, cut it into fours and try to stretch those pieces over 4 days! Sometimes I succeed but sometimes I don’t. Cheesecake for breakfast, lunch, and dinner, anyone? Yes, please!
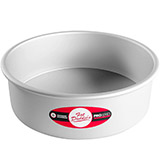
9″ Cheesecake Pan
A 9″ pan makes the same size cheesecake you’d purchase pre-made from the bakery. You’ll get 12 nice sized slices of cheesecake with this size. This is a great size option for small parties and travels well in a standard cake carrier.
Our Favorite Tools for this Recipe:
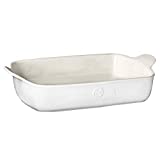
For any cheesecake we recommend the tools above. FYI – and a lesson learned here, always use a ceramic or glass dish for a water bath. Since my casserole was in use I used a 9 x 13 Nordic Ware aluminum cake pan and it discolored the pan to the water line, just like if it had been in the dishwasher.
Ingredients You Need to Make :
- Good Quality Cream Cheese – Full fat Philadelphia Cream Cheese is the only cream cheese I use for any variety of cheesecake. Store brands will save you a few dollars but you won’t get the same dense and exquisitely creamy texture you’ll get from Philadelphia. Be sure to set out and soften your cream cheese about 2 hours before you want to bake.
- Sweetened Condensed Milk
- Eggs – To get your eggs to blend seamlessly into the cream cheese eggs need to be room temperature. Forgot to leave your eggs out? Place your eggs in a cup or glass with hot (but not scalding) water for about 15 minutes.
- Vanilla Bean Paste – Vanilla beans are expensive and I never seem to get all of the seeds out of the pod. This is exactly why I love vanilla bean paste. You get lots of little seeds and a super strong gel of vanilla flavor. It’s less expensive than vanilla beans and I think the flavor that comes through is stronger with less product.
- Granulated Sugar
- Nilla Wafers
- Butter, Melted
How to Make Vanilla Bean Cheesecake
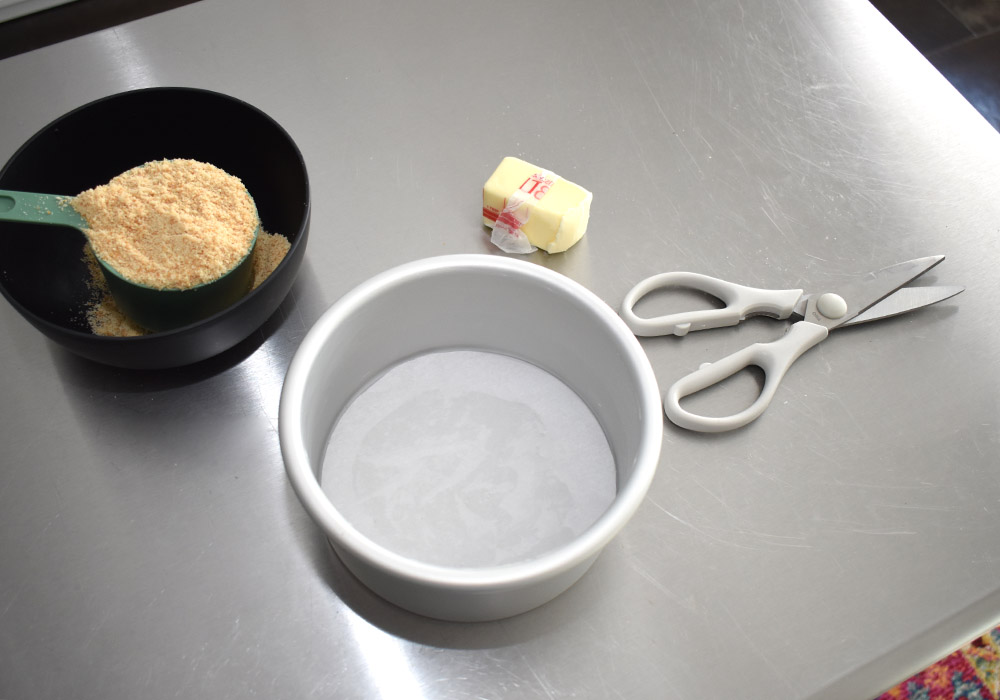
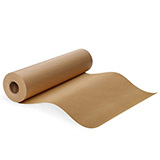
- Trace your cheesecake pan bottom onto a piece of parchment paper with pencil and cut out. Return the bottom back into the pan and lightly grease with a stick of butter. Place the parchment circle into the bottom of the pan (the butter should help it stay in place).
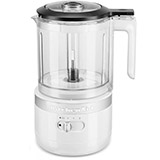
- Place Nilla Wafers into your food chopper (or food processor) and blitz until very fine. Transfer to a small bowl and remove any large chunks. Blitz again, if necessary. Add melted butter to the crumbs and stir and fluff using a fork until the mixture is similar to wet sand and the butter is evenly distributed.
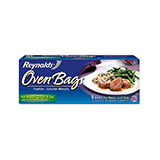
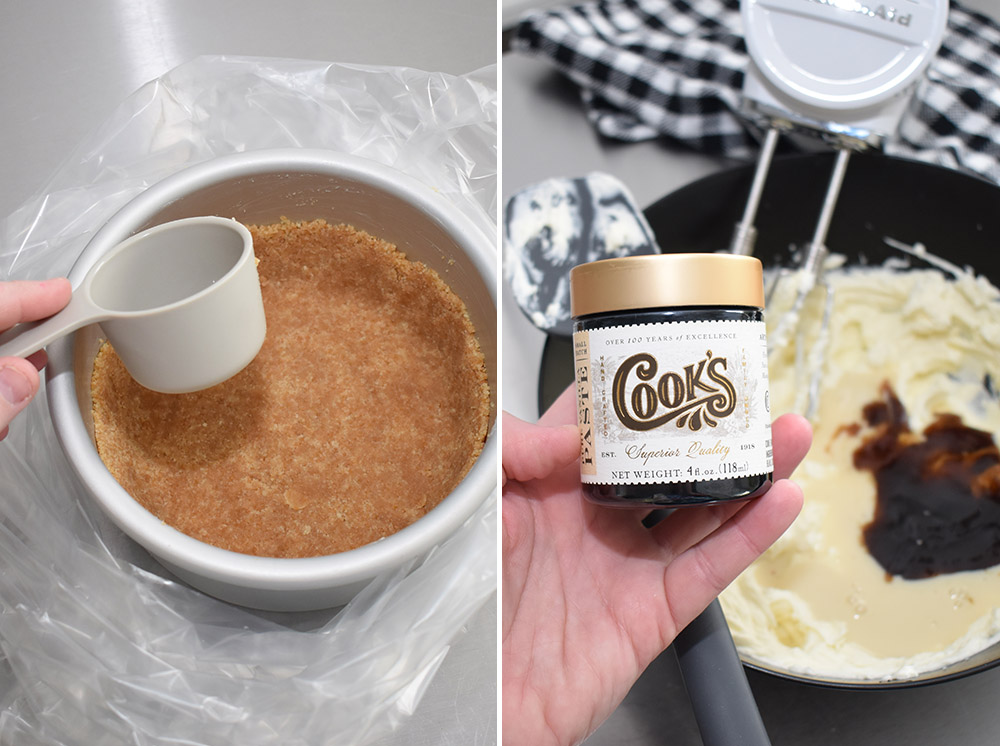
- Press crumbs onto the paper-lined cheesecake pan directly into the bottom of the pan and up the sides approximately halfway. The bottom of a measuring cup is helpful to get nice and packed crust that holds together well. Open a plastic roasting bag and transfer your cheesecake pan into the bottom. Pull the top and sides out of the way.
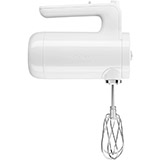
- In a large mixing bowl beat together cream cheese and sugar until light and fluffy. Add sweetened condensed milk and vanilla bean paste and beat until just combined. Beat in one egg at a time to the mixture until fully incorporated. Mix just long enough until thoroughly combined. Overmixing will cause the top of your cheesecake to split as it bakes.

- Spoon the cream cheese filling into the prepared pan taking care not to dislodge the crust. Gather the top of the bag and pull closed high above the top of the pan. Use the ties that come with the roasting bags to tightly close the bag.
Baking a Cheesecake
- Prepare a water bath by filling a casserole dish halfway with boiling water. Carefully transfer the bagged cheesecake into the water bath, place on a middle rack of a cold oven. Heat the oven to 350° and then set your timer based on your pan size. Bake the full time, turn off the oven and crack the door. Allow to rest in the warm oven, remove and allow to cool at room temperature on a cookie rack.
- Transfer room temperature cheesecake to the refrigerator. Allow to chill overnight. Place the bottom of the pan containing the chilled cheesecake onto a glass or similar item. Push the sides of the pan straight down to de-pan. Gently pry a sharp, thin knife beneath the parchment paper and peel away.
How our cheesecake recipe varies… no sour cream or heavy cream
Tips for Success!
- Overmixing will cause your cheesecake to crack! Stand mixers are pretty, but this is a job for the better control a hand mixer will give you.
- Cream cheese must be softened and eggs must be room temperature to blend fully. If you have clumps of cream cheese in the mixture, it was too cold. You can try to correct the situation by putting the mixture into a blender and processing until just smooth, but you run the risk of an overmixed, cracked cheesecake.
- The key to a cheesecake that is nice and smooth with a lovely light color on the top is by using a roasting bag. Normally used for turkeys, chickens, and such a roasting bag is my favorite way to have a pretty cheesecake but it also ensures that you don’t have water seeping into the cheesecake pan making your crust a mushy mess.
- Move your oven rack to the center and remove any racks above it to make room for the roasting bag. Start timing the bake after the oven comes to 350°.
- Never remove the collar of your pan until your vanilla cheesecake has fully set up in the refrigerator. Rushing this step can mean you have a cheesecake that breaks and gushes out.
- If using a springform pan rather than a cheesecake pan, run a sharp, thin knife around the edge of the pan to ensure a clean removal once the cheesecake has cooled.
- Clean your knife blade after every cut for cheesecake slices that are nice looking with smooth sides.
Serving Suggestions
Our favorite way to eat this luscious vanilla bean cheesecake is with some fresh berries.
Storage
This vanilla bean cheesecake needs to be refrigerated and can be kept in the refrigerator for up to one week. Slices or the full cheesecake can be wrapped in wax paper and placed in a large freezer bag and stored for up to 3 months. Thaw in the refrigerator 24 hours prior to serving.

Vanilla Bean Cheesecake Recipe (6″)
Equipment
Ingredients
Crust:
- 3.5 ounces Nilla Wafers
- 4 tablespoons butter melted
Filling:
- 16 ounces cream cheese softened
- 1/2 cup sweetened condensed milk
- 2 eggs room temperature
- 2 tablespoons vanilla bean paste
- 1/3 cup granulated sugar
Instructions
- Trace your cheesecake pan bottom onto a piece of parchment paper with pencil and cut out. Place the bottom back into the pan and lightly grease with a stick of butter. Place the parchment circle into the bottom of the pan (the butter should help it stay in place).
- Place Nilla Wafers into your food chopper (or food processor) and blitz until very fine. Transfer to a small bowl and remove any large chunks. Blitz again, if necessary. Add melted butter to the crumbs and stir and fluff using a fork until the mixture is similar to wet sand and the butter is evenly distributed.
- Press crumbs onto the paper-lined cheesecake pan directly into the bottom of the pan and up the sides approximately halfway. The bottom of a measuring cup is helpful to get nice and packed crust that holds together well. Open a plastic roasting bag and transfer your cheesecake pan into the bottom. Pull the top and sides out of the way.
- In a large mixing bowl beat together cream cheese and sugar until light and fluffy. Add sweetened condensed milk and vanilla bean paste and beat until just combined. Beat in one egg at a time to the mixture until fully incorporated. Mix just long enough until thoroughly combined. Overmixing will cause the top of your cheesecake to split as it bakes.
- Spoon the cream cheese filling into the prepared pan taking care not to dislodge the crust. Gather the top of the bag and pull closed high above the top of the pan. Use the ties that come with the roasting bags to tightly close the bag.
- Prepare the water bath by filling a casserole dish halfway with boiling water. Carefully transfer the bagged cheesecake into the water bath, place on a middle rack of a cold oven. Heat the oven to 350° and then bake for 60 minutes. Turn off the oven and crack the door and allow to rest in the warm oven for another hour. Remove from the oven, unbag and place the pan on a cookie rack to cool to room temperature.
- Transfer room temperature cheesecake to the refrigerator. Allow to chill overnight. Place the bottom of the pan containing the chilled cheesecake onto a glass or similar item. Push the sides of the pan straight down to de-pan. Gently pry a sharp, thin knife beneath the parchment paper and peel away.
Notes
- Overmixing will cause your cheesecake to crack! Stand mixers are pretty, but this is a job for the better control a hand mixer will give you.
- Cream cheese must be softened and eggs must be room temperature to blend fully. If you have clumps of cream cheese in the mixture, it was too cold. You can try to correct the situation by putting the mixture into a blender and processing until just smooth, but you run the risk of an overmixed, cracked cheesecake.
- Move your oven rack to the center and remove any racks above it to make room for the roasting bag. Always start baking a cheesecake in a cold oven. Start timing the bake after the oven comes to 350°.
- The key to a cheesecake that is nice and smooth with a lovely light color on the top is by using a roasting bag. Normally used for turkeys, chickens, and such a roasting bag is my favorite way to have a pretty cheesecake but it also ensures that you don’t have water seeping into the cheesecake pan making your crust a mushy mess.
- Never remove the collar of your pan until your vanilla cheesecake has fully set up in the refrigerator. Rushing this step can mean you have a cheesecake that breaks and gushes out.
- If using a springform pan rather than a cheesecake pan, run a sharp, thin knife around the edge of the pan to ensure a clean removal once the cheesecake has cooled.
- Clean your knife blade after every cut for cheesecake slices that are nice looking with smooth sides.